Picture this: a midnight kitchen raid, a friend’s daring challenge, and a kitchen that smells like melted butter and sweet dreams. I was in the middle of a disastrous attempt at a classic cheesecake when the phone buzzed – “I dare you to try a fluffier version.” The moment I opened the recipe, my taste buds tingled, and my eyes widened at the promise of a cloud‑like texture that would make even the most seasoned bakers swoon. The idea was simple yet revolutionary: combine the airy elegance of Japanese cotton cheesecake with the comforting familiarity of a traditional cheesecake base, then elevate it with unexpected twists like a hint of cayenne pepper and a splash of cocoa. I could already hear the applause when I’d pull the golden, pale‑white cups from the oven, the whole kitchen filling with a scent that could stop a traffic jam.
From the first stir, the batter feels like a silky ribbon, each swirl of the whisk a promise of lightness. The butter melts into a golden pool that coats the flour, turning it from a dusty ingredient into a silky partner. When the sugar dissolves, it releases a faint caramel note that lingers in the air, a prelude to the sweet bite that follows. The eggs, separated with meticulous care, introduce a structural backbone that keeps the cupcakes from collapsing, yet their whites remain fluffy enough to lift the batter into a cloud‑like rise. The banana or applesauce adds subtle fruitiness, a gentle whisper that balances the richness of the cream cheese and butter. And when you bite into a finished cupcake, you taste a velvety center that melts on the tongue, a moment of pure, unadulterated bliss.
What makes this version stand out is not just the texture – though that alone could earn it a Michelin star – but the way each element sings in harmony. The combination of Japanese cotton cheesecake’s airy base with the depth of a classic cheesecake creates a paradoxical sensation: airy yet substantial. The cocoa powder adds a dark, earthy undertone that keeps the sweetness from becoming cloying. The cayenne pepper, a daring choice, injects a whisper of heat that lingers on the palate, giving the cupcakes a surprising edge. The nuts provide a crunchy contrast that breaks up the silky mouthfeel, while the bananas or applesauce keep the batter moist without adding bulk. Finally, the careful balance of sugar, butter, and cream cheese ensures that the cupcakes are sweet enough to satisfy but not so sugary that they overpower the delicate flavors.
Most recipes get this completely wrong. They either over‑bake, resulting in a dense, rubbery texture, or they under‑whisk, leading to a runny batter that collapses before it has a chance to rise. The trick here is to treat the batter like a delicate soufflé – gentle, precise, and patient. I’ll be honest – I ate half the batch before anyone else got to try it. The cupcakes were so light and airy that they felt like edible clouds, and the flavor profile was so balanced that you couldn’t taste the bitterness of the cocoa or the heat of the cayenne until the very last bite. Picture yourself pulling this out of the oven, the whole kitchen smelling incredible, and then sharing the first bite with a friend who looks at you with wide, expectant eyes.
Let me walk you through every single step – by the end, you’ll wonder how you ever made it any other way. I’m talking about the moment you mix, the moment you fold, the moment you bake, and the moment you taste. This is hands down the best version you’ll ever make at home, and I’m ready to show you why. Stay with me here, and let’s turn a simple cheesecake into a masterpiece that will leave everyone begging for seconds. Okay, ready for the game‑changer?
What Makes This Version Stand Out
- Texture: The batter rises like a soufflé, resulting in a cloud‑like interior that melts in your mouth. The airy lift is achieved through meticulous egg white incorporation and careful folding, ensuring the cupcakes stay light even after cooling.
- Flavor Balance: The cocoa powder adds depth without overwhelming sweetness, while the cayenne pepper introduces a subtle heat that lingers. The result is a cupcake that feels complex yet approachable.
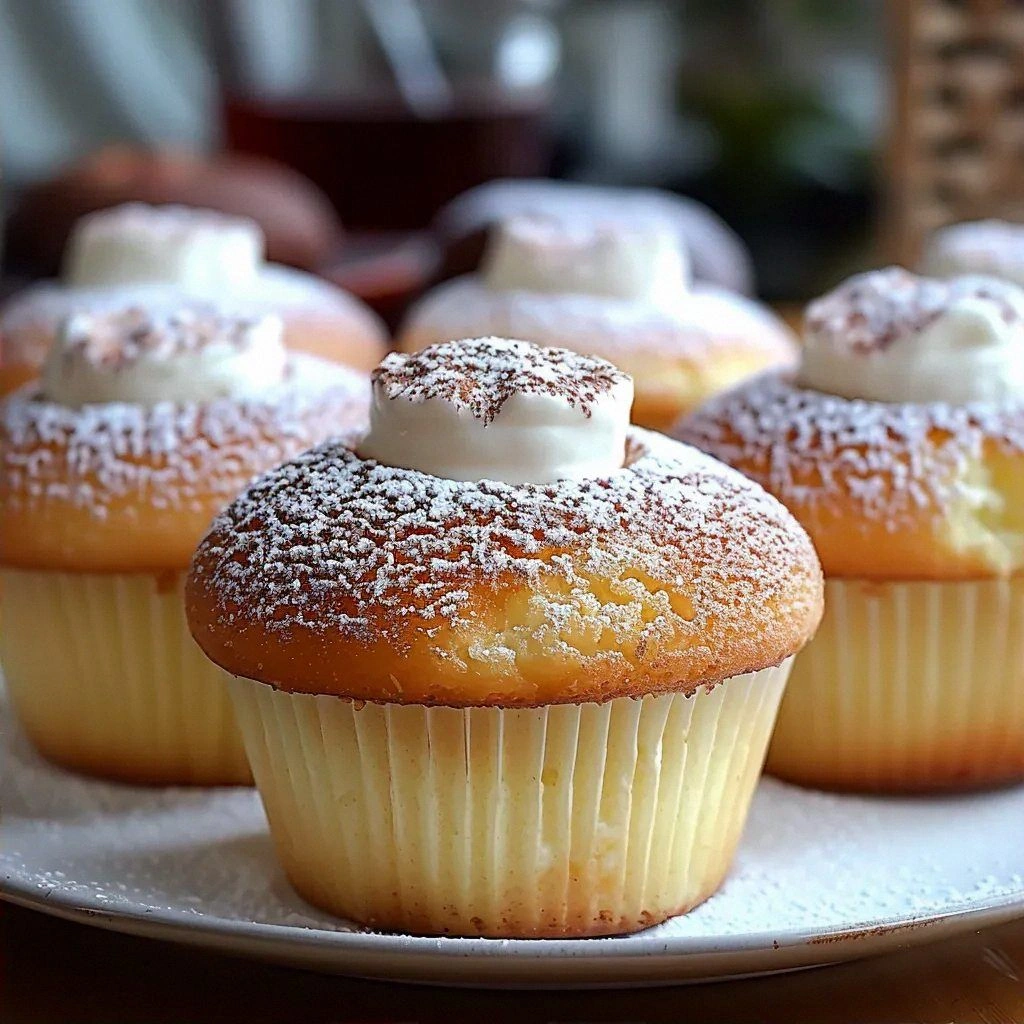
- Visual Appeal: The pale, almost translucent interior contrasts beautifully with a golden crust, making each cupcake a work of art that’s as pleasing to the eye as it is to the palate.
- Ingredient Quality: Using fresh, high‑quality cream cheese and unsalted butter makes all the difference, delivering a richer flavor and smoother texture.
- Make‑ahead Friendly: These cupcakes can be assembled a day ahead, refrigerated, and baked just before serving, saving time without compromising taste.
- Versatility: The base can be customized with various mix‑ins or toppings – from fresh berries to chocolate ganache – allowing endless creativity.
- Crowd‑Pleaser: Whether you’re hosting a brunch, a birthday, or a casual dinner, these cupcakes are guaranteed to wow guests and spark conversation.
- Unique Twist: The subtle cayenne pepper is the secret sauce that sets this recipe apart, giving it a sophisticated kick that most cheesecake recipes lack.
Alright, let’s break down exactly what goes into this masterpiece…
Inside the Ingredient List
The Flavor Base
At the heart of any great cheesecake is the cream cheese, which provides a rich, tangy foundation. The 8 oz of cream cheese is the main source of depth and smoothness; if you skip it, you’ll end up with a flat, bland dessert. Swap it for mascarpone for a silkier bite, but be prepared for a slightly sweeter outcome. When selecting cream cheese, choose one that’s fresh and has a fat content of at least 33% to ensure a luscious mouthfeel.
The unsalted butter, at 1/4 cup, brings a buttery richness that balances the tang of the cream cheese. Butter also helps to emulsify the batter, giving the cupcakes a velvety texture. If you’re allergic to dairy, a high‑quality vegan butter will work, but the flavor profile will shift slightly toward a nutty undertone.
The sugar, 1 cup, dissolves into the batter, creating a smooth, glossy finish. Sugar also caramelizes during baking, contributing to the golden crust. If you prefer a lower‑sugar version, try a sugar substitute that measures by volume, but be mindful that the batter may not rise as well.
The Texture Crew
Egg yolks, 6 large, are the backbone of the cheesecake, providing richness, structure, and a slightly custard‑like consistency. Skipping yolks will make the cupcakes crumbly and less cohesive. If you want a lighter texture, reduce the yolks to 4, but the cupcakes will lose some body.
Egg whites, also 6 large, are whipped to stiff peaks and folded in to give the batter its signature airy lift. The whites act like a sponge, trapping air and preventing the cupcakes from becoming too dense. If you can’t separate eggs, use a commercial egg‑white substitute, but the rise may be less dramatic.
The all‑purpose flour, 3/4 cup, provides structure while keeping the batter from becoming too heavy. Too much flour will make the cupcakes dense; too little will cause them to collapse. A light, sifted flour will yield a smoother batter.
The Unexpected Star
The mashed bananas or applesauce, 1 cup, introduces natural sweetness and moisture. This ingredient replaces some of the fat, keeping the cupcakes light while adding a subtle fruit undertone. If you’re craving a chocolate version, swap the bananas for mashed avocado for a creamy texture without altering the flavor profile.
The chopped nuts, 1/2 cup, add a delightful crunch and a nutty flavor that contrasts the silky interior. Almonds or walnuts work best, but any nut will do. Toast the nuts lightly before adding to enhance their aroma.
The Final Flourish
The cocoa powder, 1/4 cup, gives the cupcakes a deep, chocolatey aroma that balances the sweetness. Use unsweetened cocoa for a more intense flavor. If you’re a dark chocolate lover, consider adding a tablespoon of melted dark chocolate to the batter.
The salt, 1/4 teaspoon, sharpens the overall flavor profile, making the sweetness pop. A pinch of sea salt can replace it for a more complex finish. If you’re sensitive to sodium, reduce the amount to 1/8 teaspoon, but be prepared for a slightly flatter taste.
The cayenne pepper, 1/4 teaspoon, is the secret sauce that adds a subtle heat. It’s enough to give the cupcakes a kick without overpowering the delicate flavors. If you’re a heat aficionado, increase to 1/2 teaspoon; if you’re heat‑averse, omit it entirely.
Everything’s prepped? Good. Let’s get into the real action…
The Method — Step by Step
- Preheat the Oven: Set your oven to 325°F (165°C) and line a muffin tin with paper liners. The low, steady heat ensures a gentle rise and prevents the cupcakes from cracking. I’ve found that an even oven temperature is essential for achieving that signature cotton texture. Let the oven preheat while you prepare the batter.
- Combine Cream Cheese and Butter: In a large mixing bowl, beat the cream cheese and unsalted butter together until the mixture is smooth and pale. The goal is a silky base that will blend seamlessly with the other ingredients. Use a stand mixer on medium speed for 3 minutes; this ensures a uniform consistency.
- Incorporate Sugar and Eggs: Add the sugar to the cream cheese mixture and beat until the sugar is fully dissolved and the batter is glossy. Then whisk in the egg yolks one at a time, ensuring each yolk is fully incorporated before adding the next. The yolks add richness and help bind the batter.
- Whip Egg Whites to Stiff Peaks: In a clean bowl, beat the egg whites until they form stiff peaks. This step is crucial for the airy texture. If the whites are too stiff, they may break down; if they're under‑whipped, the cupcakes will be dense.
- Fold in Dry Ingredients: Sift together the all‑purpose flour, cocoa powder, salt, and cayenne pepper. Gently fold this dry mixture into the cream cheese batter, then fold in the mashed bananas or applesauce. The batter should be light and slightly lumpy. The bananas add moisture, so be careful not to overmix.
- Fold in Egg Whites: Gently fold the whipped egg whites into the batter in three batches, using a spatula. This step is the moment of truth; the batter should look like a fluffy cloud. Watch the batter rise slightly as you fold in each batch.
- Add Nuts: Fold in the chopped nuts, reserving a small handful for topping. The nuts add a crunchy contrast that breaks up the silky texture. Be sure to distribute them evenly so each cupcake has a bit of crunch.
- Fill the Muffin Tin: Spoon the batter into the lined muffin tin, filling each cup about 3/4 full. The batter will rise during baking, so do not overfill. The cupcakes should look slightly domed when placed in the tin.
- Bake: Place the tin in the preheated oven and bake for 30–35 minutes, or until the tops are set and a toothpick comes out clean. The cupcakes should have a slight give when pressed gently. This is the final test of your patience; do not open the oven too early.
- Cool and Finish: Remove the cupcakes from the oven and let them cool in the tin for 10 minutes. Then transfer them to a wire rack to cool completely. Once cooled, top each cupcake with the reserved nuts for a crunchy finish. The result is a cloud‑like cupcake with a golden crust and a nutty crunch.
- Optional Frosting: For an extra touch, swirl a thin layer of whipped cream or a light chocolate ganache over the top. This adds a silky finish that pairs beautifully with the airy interior.
That's it — you did it. But hold on, I've got a few more tricks that'll take this to another level...
Insider Tricks for Flawless Results
The Temperature Rule Nobody Follows
Many bakers bake at 350°F, but lowering the temperature to 325°F gives the cupcakes the gentle heat they need to rise without browning too quickly. The slower bake allows the interior to set gradually, creating that coveted cotton-like texture.
Why Your Nose Knows Best
When the cupcakes start to smell slightly toasted, that’s the sweet spot. The aroma is a cue that the sugars are caramelizing just enough to add depth without turning the cupcakes bitter.
The 5‑Minute Rest That Changes Everything
After removing the cupcakes from the oven, let them sit in the tin for exactly 10 minutes. This short rest allows the cupcakes to finish setting, preventing them from cracking when you transfer them to the rack.
Keep the Butter Cold
If the butter is too soft, it will melt into the batter and make it too runny. Keep it chilled until you’re ready to mix, then let it soften slightly at room temperature.
Use a Non‑Stick Silicone Mat
A silicone mat prevents the cupcakes from sticking to the paper liners, making removal a breeze. It also ensures even heat distribution, which is key for the airy rise.
Never Skip the Whipping Step
A friend once skipped whipping the egg whites and the cupcakes collapsed. The lesson? Whipped whites are the secret to the lightness of this dessert. Trust the process.
Creative Twists and Variations
This recipe is a playground. Here are some of my favorite ways to switch things up:
Chocolate Ganache Drizzle
Swirl a thin layer of dark chocolate ganache over each cupcake for a decadent finish. The ganache adds a glossy sheen and intensifies the chocolate flavor, making it a showstopper for special occasions.
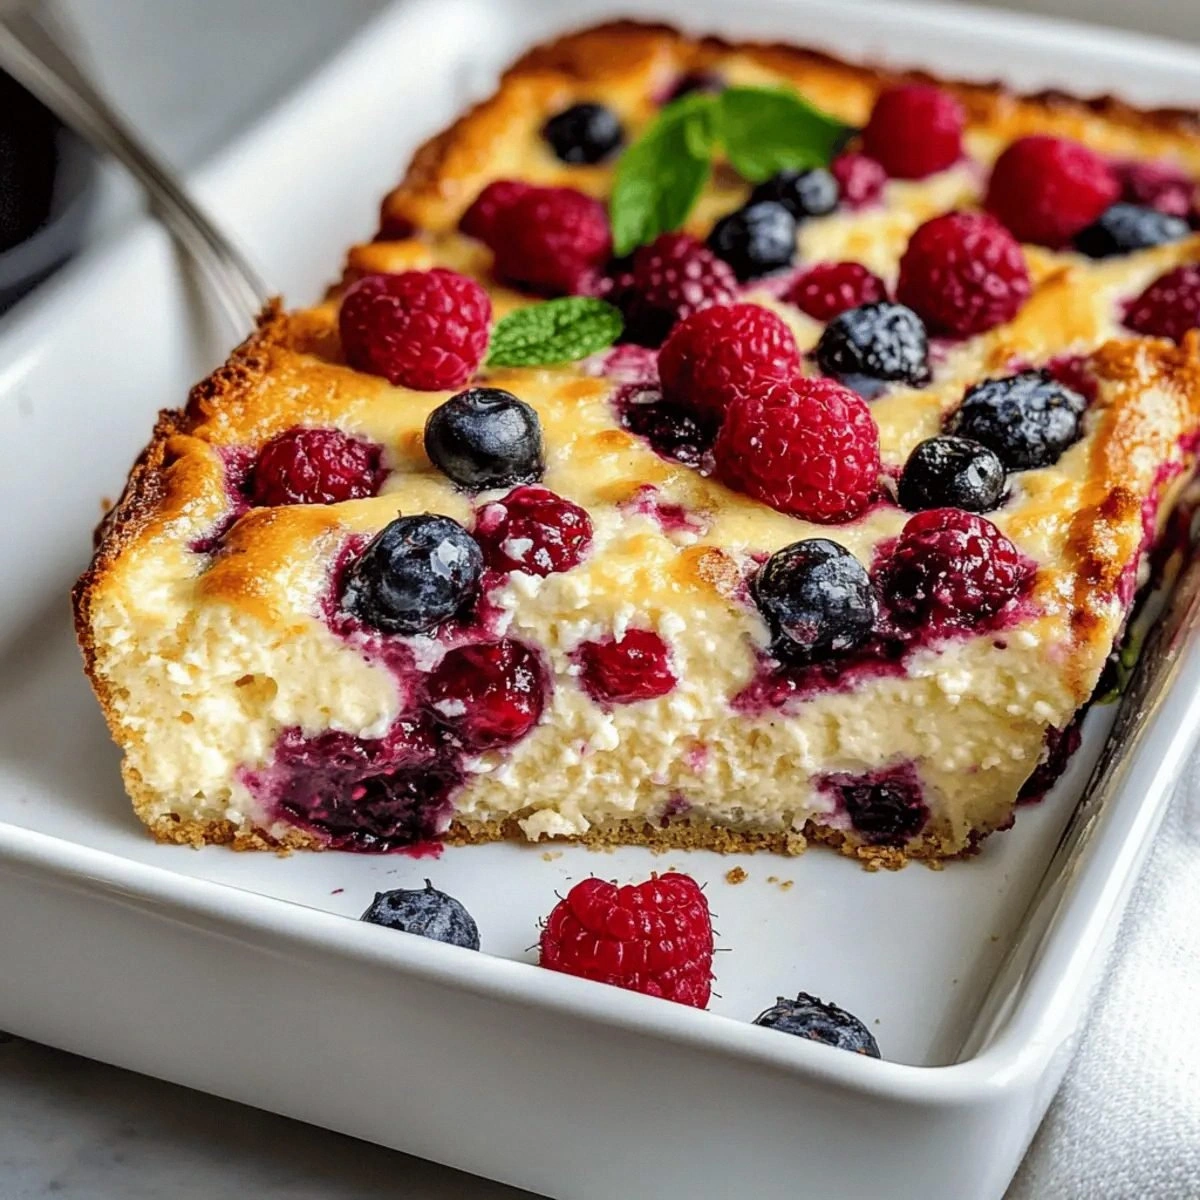
Berry Burst
Fold in fresh blueberries or raspberries into the batter for a burst of tartness. The berries release their juices during baking, creating pockets of fruity flavor that contrast the creamy base.
Minty Fresh
Add a teaspoon of fresh mint extract to the batter for a refreshing twist. The mint pairs beautifully with the chocolate, adding a subtle herbal note that elevates the dessert.
Espresso Infusion
Stir in a tablespoon of cold espresso into the batter. The coffee deepens the chocolate flavor and adds a sophisticated bitterness that balances the sweetness.
Nutella Swirl
Gently swirl a spoonful of Nutella into the batter before baking. The hazelnut spread creates a marbled effect and adds a creamy, chocolatey depth that’s hard to resist.
Almond Joy Layer
Top each cupcake with shredded coconut, chopped almonds, and a drizzle of chocolate. This variation mimics the classic dessert bar, offering a crunchy, sweet, and nutty experience.
Storing and Bringing It Back to Life
Fridge Storage
Store the cooled cupcakes in an airtight container in the refrigerator for up to 3 days. The airtight seal prevents moisture loss, keeping the cupcakes fresh and soft.
Freezer Friendly
Wrap each cupcake individually in plastic wrap, then place them in a freezer bag. Freeze for up to 2 months. When ready to serve, let them thaw at room temperature for 30 minutes.
Best Reheating Method
Reheat frozen or chilled cupcakes in a preheated oven at 300°F (150°C) for 8–10 minutes. Add a tiny splash of water before reheating to steam the cupcakes back to perfection. The steam rehydrates the interior, restoring the airy texture.